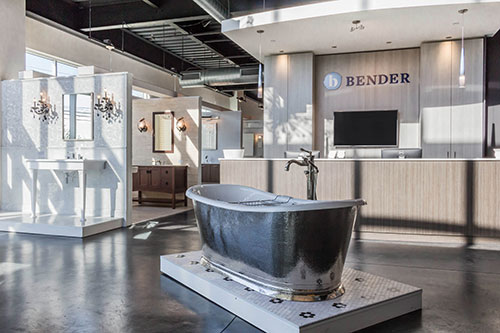


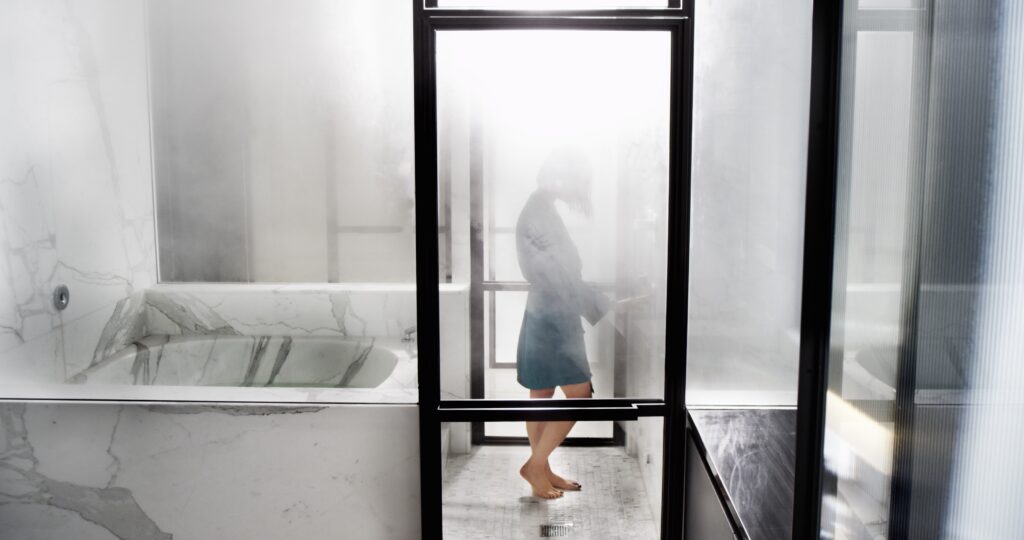
Upgrading the bathroom with a steam shower is one of the highest impact renovations for any homeowner. Although the planning is a bit more complex compared with most other projects, the rewards of enjoying the ultimate in relaxation and improved well-being are more than worth it
As you prepare to take your bath from practical to luxurious, our overview of some basic considerations will make the whole planning and installation process less daunting and more manageable.
Space and Layout Best Practices for a Steam Shower Enclosure
Dimensions: For comfort, safety, and functionality, your steam shower enclosure should be no less than 3’ x 3’ x 7’. A standard ceiling height of 8 feet is ideal, as a higher or vaulted ceiling may require using a more powerful steam generator.
Placement of Steam Head and Controls: The steam head should be located on a wall opposite the seating area and 6–12 inches above the enclosure floor. The in-shower control, which lets you set temperature, duration, and other features, should be 4–5 feet above the floor and out of the path of direct steam flow.
Installation Requirements for the Steam Generator: The steam generator is a device about the size of a briefcase, and, as its name implies, it’s what creates the steam that fills the enclosure. However, it cannot be installed within the enclosure. Instead, it needs to be installed in a dry, heated space. For ventilation and servicing purposes, there should be at least a foot of clearance on each side of the device.
Requirements for Fixtures and Other Components:
Steam Enclosure Door: This should be watertight, not just water-resistant.
Lighting: All lighting fixtures should be approved for steam showers. This type of fixture is vapor sealed and uses a ground fault circuit interrupter (GFCI), which cuts power to the light if moisture is detected in the fixture.
Exhaust Fan: No special whistles and bells required. A standard bathroom exhaust fan is all you need to remove moist air from the bathroom. And since it should not be in the steam enclosure, if you already have one in your bathroom, you might be all set.
Windows: To prevent heat loss and subpar steam, all windows should be double-paned and caulked with high-quality silicone caulk.
Plumbing and Electrical Musts
Installing a steam shower is not a DIY project when it comes to plumbing and electrical work. To avoid safety (and liability) concerns, have all work done by a qualified, licensed plumber and electrician.
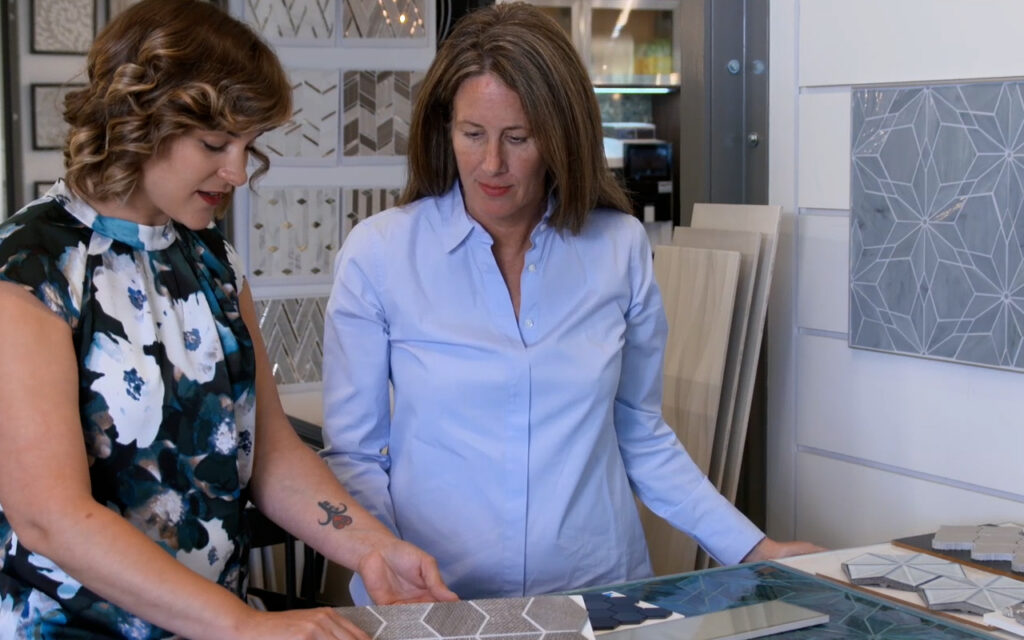
Use Only Nonporous Materials in Your Steam Shower Enclosure
The walls, floor, and ceiling in your steam shower enclosure must be covered in a nonporous material, such as acrylic, porcelain, or ceramic tile. Other popular materials, like granite or glass block, are porous and soak up both moisture and heat. This increases the likelihood of mold and mildew problems and lessens the soothing, restorative steam experience. While nonporous materials enhance the steam experience, they’re also more slippery. So, it’s always wise to add anti-skid strips on the floor or use a bath mat.